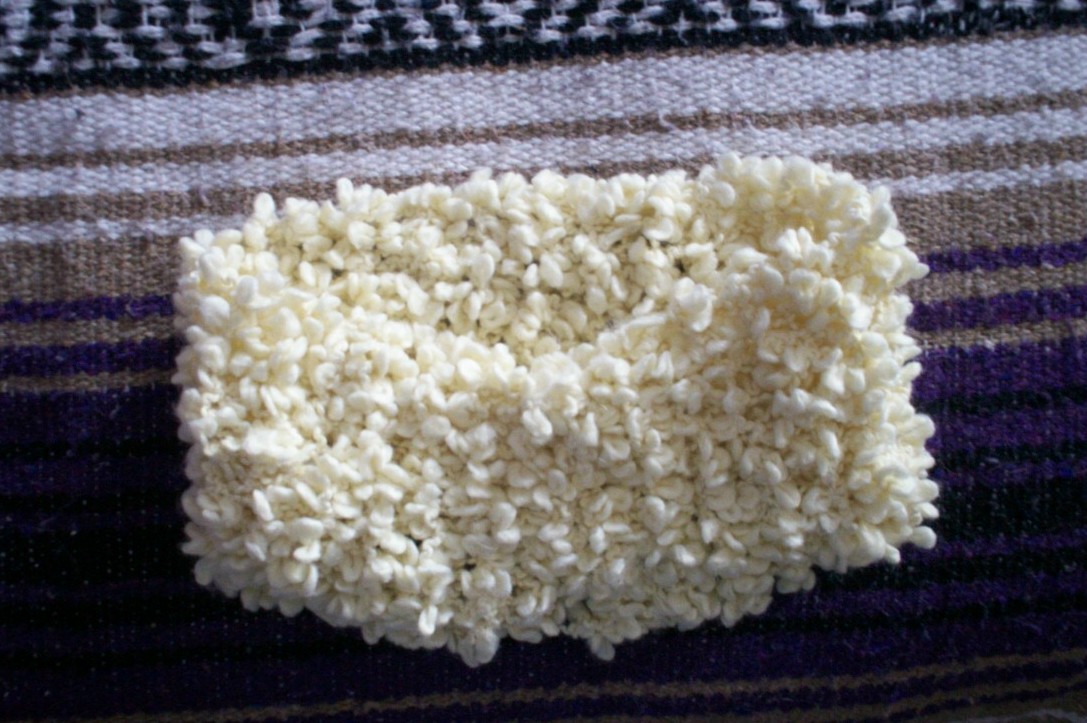
Wednesday, October 29, 2008

Easy Neck Warmer - 2 toned


Pooch Neck Warmer


Very easy stitch pattern to follow for 18 inches. Only have to cast on 22 stitches.
Very much a beginner pattern made flat. 10.5 needle size used. When done all you have to do is sew the ends togethor and you have your neck warmer.

I used Garter Stitch for this neck warmer. So you can either knit every row or purl every row.

Thanks for visiting
Heather

Monday, October 6, 2008

Fabric Stitch Arm Warmer


    Beginner Fabric Stitch Knit Arm Warmer - Free


This is a great beginner arm warmer to try because it uses Knit and Purl stitches only, unlike my cabled.  Even if you're experienced at knitting it is a great pattern to try

If you're looking for a challenge you can try these Cabled Arm Warmers. They include Serpentine Cable Arm Warmer, Soft Cabled Arm Warmer, "Warm Me Up" Braid Cable, Waves Arm Warmer, Slow and Easy Cabled Arm Warmer and more.
It's made flat and then the sides are sewn together.


CO: 24
Yar: Caron 1 Pound
Needle Size: US 11
Rows Completed: 49 rows
Size: 6 x 9 inches
Amount of Yarn: 60 yards for both

ABBREVIATIONS:
WYIF = With Yarn in Front (as if to purl)
S1 = Slip 1 stitch
* *= Repeat the instructions between them

PATTERN:

It calls for an even amount of stitches

Row 1: *K1, WYIF S1* end with K2
Rows 2 & 4: Purl
Row 3: K2 *WYIF S1, K1*


FINISHING
  1. It’s important to do a loose bind off or it will squeeze your hand/arm. That's not to comfortable, trust me. I've made that mistake a couple of times.
  2. I always do a purl bind off no matter what stitch the last row is comprised of. It's so much more attractive then a knitted one. It's up to you.
  1. When you end your last row cut your yarn and leave a tail. You will tie a knot to secure the sewing and then you can weave it in.


Sewing your arm warmer together

If you have your own method of sewing by all means do that. If you need instructions then I can tell you how to sew it together.

Place the arm warmer with the right side facing down. Then take the sides and fold them in ward. Pin the top of it as you're working.

  1. Now thread your yarn needle.
  1. Start sewing by threading your needle through the purl bump closest to the edge then put your needle through the purl bump closest to the edge on the opposite side. Pull the yarn through leaving about 4 inches and tie a loose knot (so it doesn't squeeze your wrist). Then tie another knot tightly to secure the first one.
  1. Now, whatever side your yarn needle is on, **go up a little and put your yarn needle through the purl bump closest to the edge and go straight across to the other side and do the same.** repeat the instructions between the asterisks. The diagram shows how to do it.
  2. Pull tight every couple of inches.

      5. You can also pin where the thumb hole is going to be, if you want one. To do that lay it flat and slip your hand in it just like you would when wearing it. Use 2 safety pins where you want the beginning and end to be. When you get to the 1st safety pin weave the yarn into the sides until you get to the top pin and continue sewing again.

When you get to the very top do the last stitch and pull it tight, but not so tight that it hurts your arm, and tie a knot if you have a tail from when you finish your warmer.


Hope you try it sometime. Let me know if you have any questions.


Thanks!!
Heather